
FloodShield Aluminium Barrier – Removable Panels for Prepared Openings
Removable panels. Prepared posts. A system sized for your opening. Explore the installation photos and component details, then ask for a price or help planning a suitable configuration.
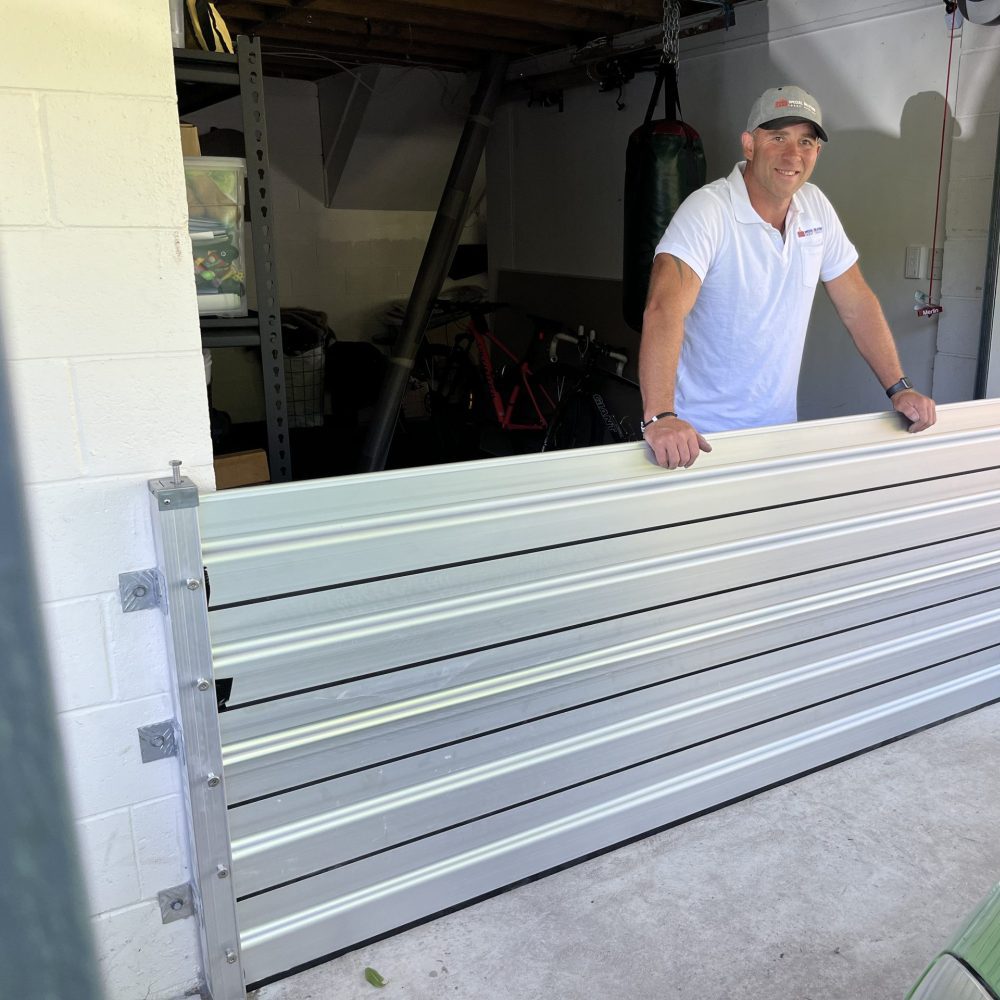
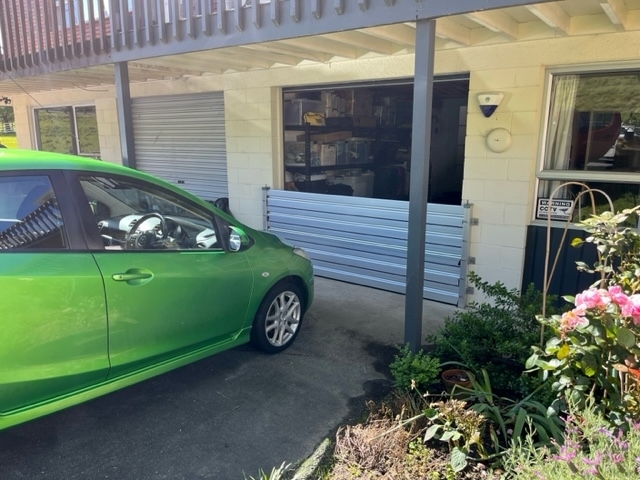
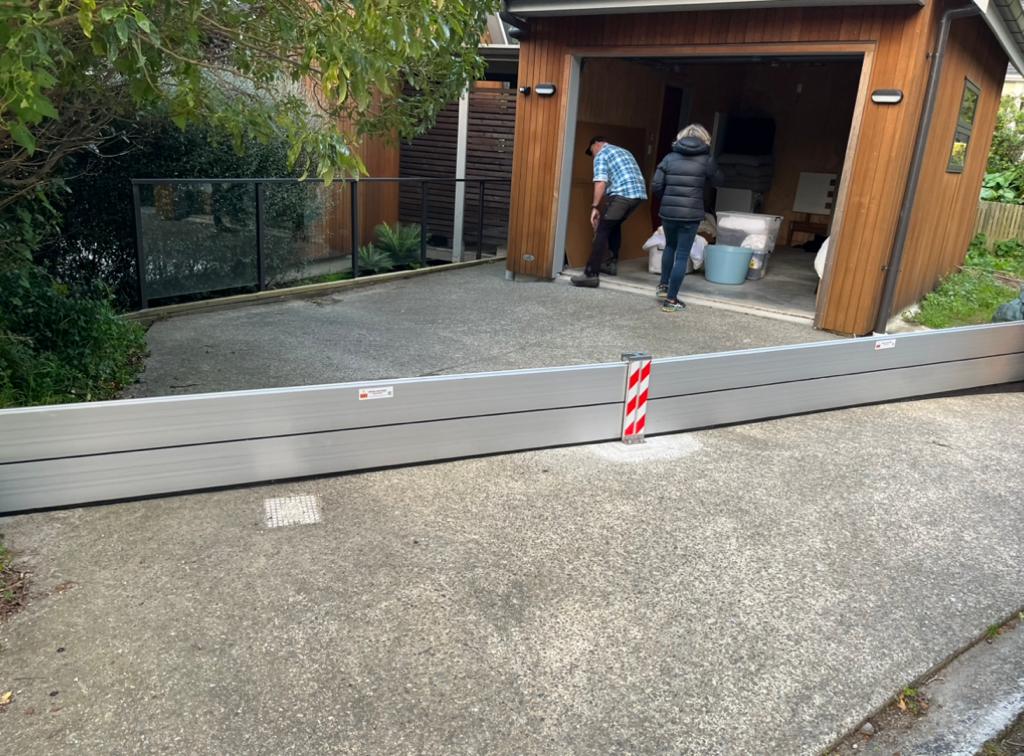
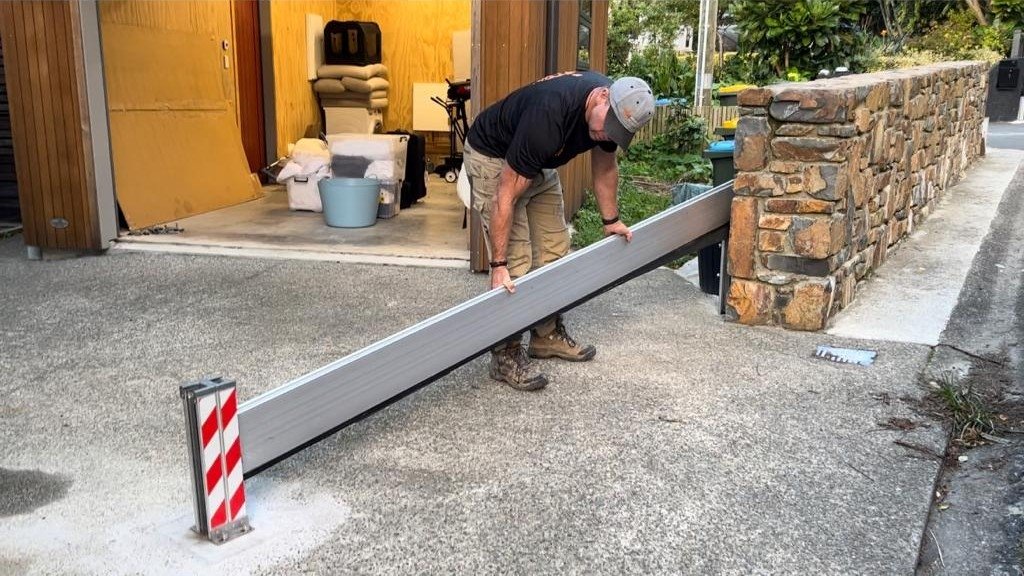
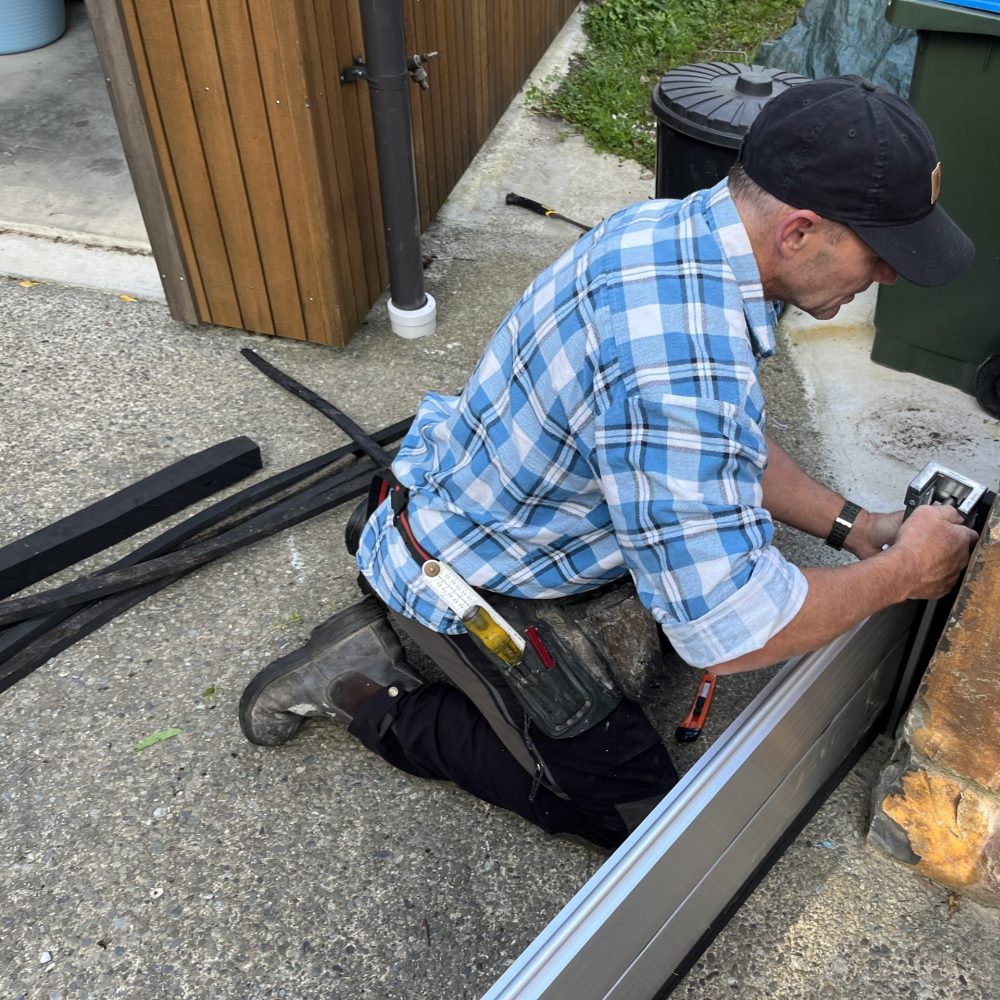
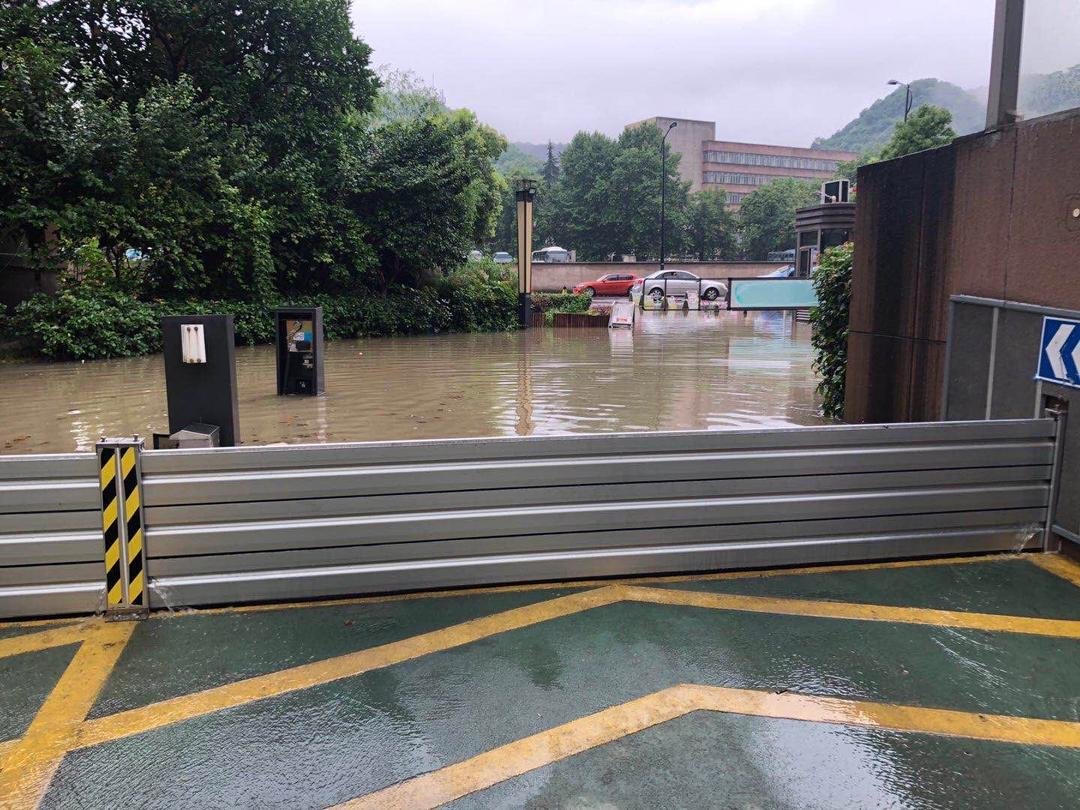
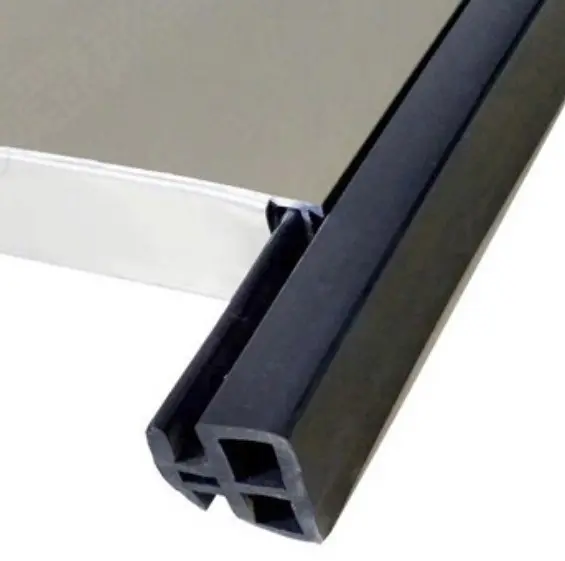
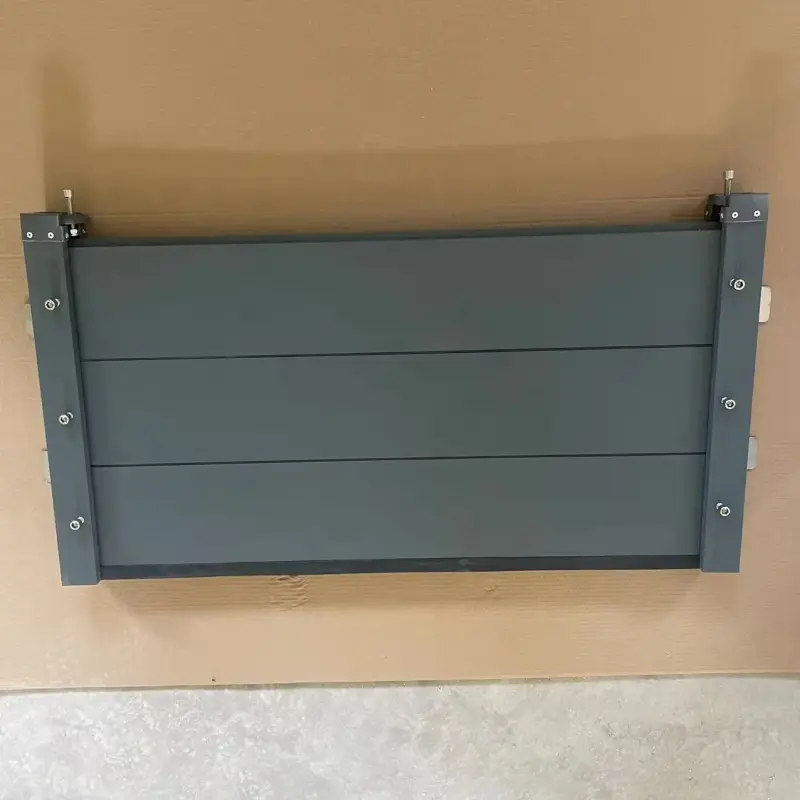
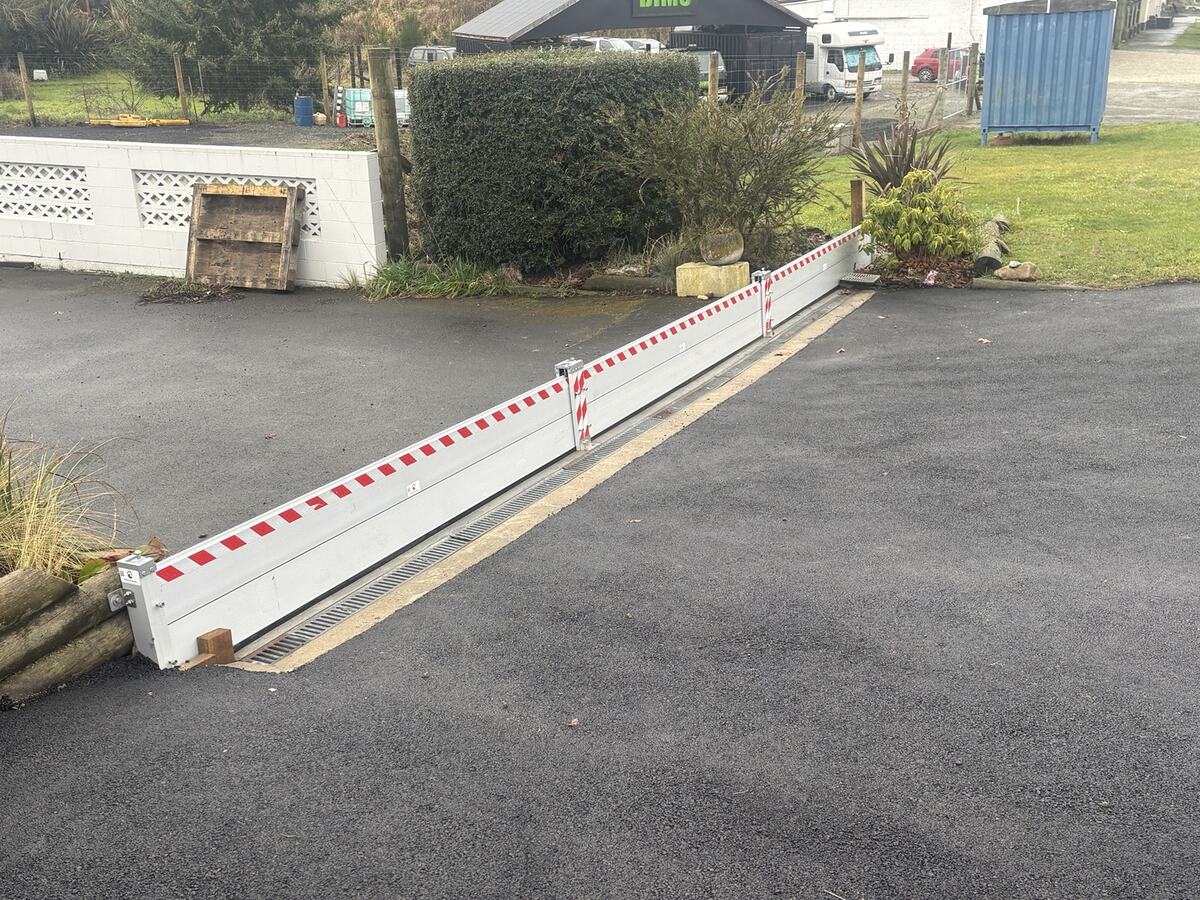
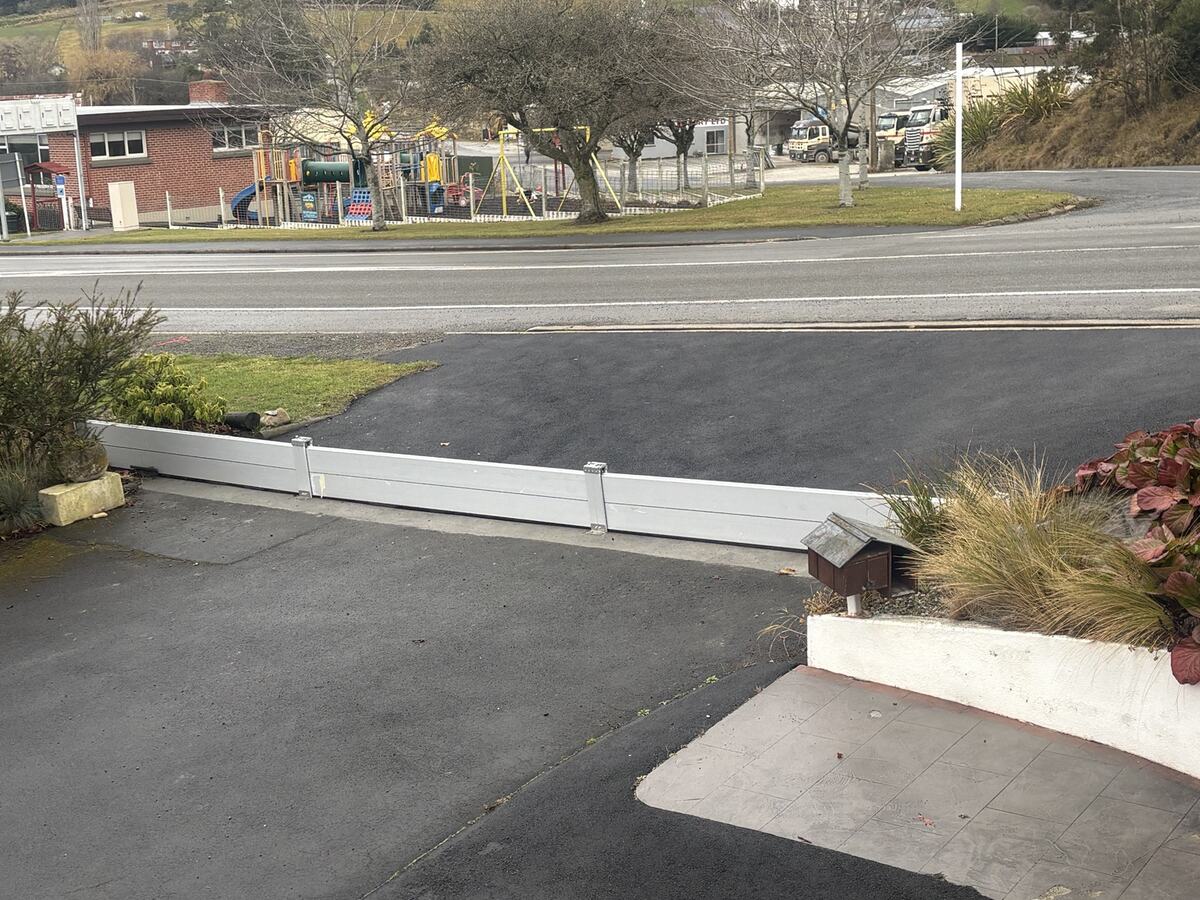
Gallery: completed South Island residential driveway barrier, preparation work, garage and driveway installations, fitting details, a flood example, EPDM seal and dark grey finish. Configurations vary by opening.
Overview
FloodShield is a removable aluminium panel system for doorways, garages and other suitable building openings. Panels fit between prepared posts and are secured for use when flooding is expected. Remove and store the panels when access is needed.
We supply systems configured to the opening, with local installation available by arrangement. The initial post and fixing installation is separate from putting the panels in place before a flood.
Materials & Finishes
The planks and posts use 6063-T5 aluminium alloy, with EPDM rubber seals. The aluminium profile has a nominal 2 mm wall thickness. Finish options include natural-colour electrophoretic treatment and dark grey powder coating.
Choose the finish alongside the mounting arrangement and opening dimensions. Photos show different configurations; the quotation will identify what is included.
Panel Heights & Sizing
The current profile uses 180 mm aluminium planks with nominal 5 mm inter-panel seals and a 40 mm bottom seal. The nominal stack height is approximately 185 mm per plank plus the bottom seal. Final assembled dimensions depend on the specified arrangement and seal compression.
Barrier height is not automatically a tested protection depth. Confirm the proposed water depth, opening width, post spacing, fixings and support arrangement before ordering. Do not add panels above the agreed design height without checking the whole installation.
Mounting, Posts & Supports
Inside, outside and mixed mounting arrangements are available. Wider runs can use intermediate posts; 90-degree corner posts and additional supports are options. Some configurations use 304 stainless steel base plates.
Post spacing and bracing must suit the span, height and supporting structure. We will confirm these in the proposed layout, rather than applying one bracing rule to every opening. Check door movement, parking clearance and space behind any supports.
Measuring Your Opening
If you already know what you need, ask for a quotation. For help selecting a configuration, send your location, photographs and approximate dimensions.
- Measure the clear width at the bottom and at the proposed barrier height.
- Show both sides of the opening, the threshold and the surrounding walls.
- Identify the wall and floor materials, slopes, steps, drains and cracks.
- Tell us the height you are considering and any known flood levels.
- Show space for posts, fixings and any rear supports.
These details help us discuss options. Final manufacturing measurements and fixing positions need checking before an order is placed.
Installation & Deployment
Initial installation: assess the supporting walls and base, prepare a continuous sealing surface, and fit posts and any base plates using the approved fixing and sealing details. A paved or asphalt surface alone does not establish that the structure beneath it can take the required loads.
Before deployment: clear the threshold and post channels, inspect the seals, fit the specified panels in order, then secure and compress them according to the supplied instructions. Fit all specified intermediate posts and braces.
Practise assembly before it is needed. Arrange safe access and enough people to handle the panels. Deploy before floodwater arrives; do not enter moving water to install or adjust the barrier.
Site Suitability & Limitations
The barrier needs sound fixing points and a suitable sealing surface. Damaged, uneven or porous areas may require preparation. Water can also enter through walls, vents, drains, services or other unprotected openings, so consider the whole property.
A barrier does not guarantee a completely dry building. Consider how residual water will be managed and keep a safe exit route available. Higher water levels, flow, waves and debris need specific assessment; the demonstration videos are not certification of a protection depth or leakage rate.
Cleaning, Storage & Seal Care
After use, clean away silt and debris, rinse as appropriate and allow the components to dry. Inspect seals for cuts, flattening or displacement and check posts, fixings and clamps for damage or loosening.
Store panels where they will not be bent or have their sealing edges damaged. Keep each opening’s parts labelled together and accessible. Repeat inspection and a practice fitting before the wet season and after changes to paving, doors or walls.
Ask us about suitable replacement seals and hardware for your system. Use cleaning and maintenance products compatible with the supplied finish and seals.
Supply, Pricing & Local Installation
Ask us for a product price or help comparing suitable options—whichever you need. Quotes depend on opening size, mounting, posts, supports, finish and delivery, with installation or surface preparation identified separately where applicable.
We supply throughout New Zealand. Local installation and site visits are available by arrangement in the wider Manawatū–Whanganui region. For other locations, we can work through the requirements with you and your installer.
Lead times, included components and warranty terms will be confirmed with your quotation.
Technical Information & Demonstrations
For project planning or procurement, ask for the proposed layout, component dimensions, mounting details, deployment instructions and the technical documentation available for that configuration.
The short clips below illustrate panel fitting and a water demonstration. They do not replace installation instructions or establish suitability for every site. We do not claim a certified leakage rate or protection depth without documentation for the specified system.
See the system in use
Between-wall installation
Watch how fixed side channels and removable aluminium panels are fitted between suitable walls. This is an installation overview; follow the approved fixing, sealing and curing instructions for your supplied system.
Full FloodShield demonstration
Panel fitting detail
The full demonstration is shown above, with a separate panel-fitting detail clip below. Follow the instructions for your supplied system; these clips do not establish a certified protection depth or leakage rate.
Prepared for the site, not taken straight from a box
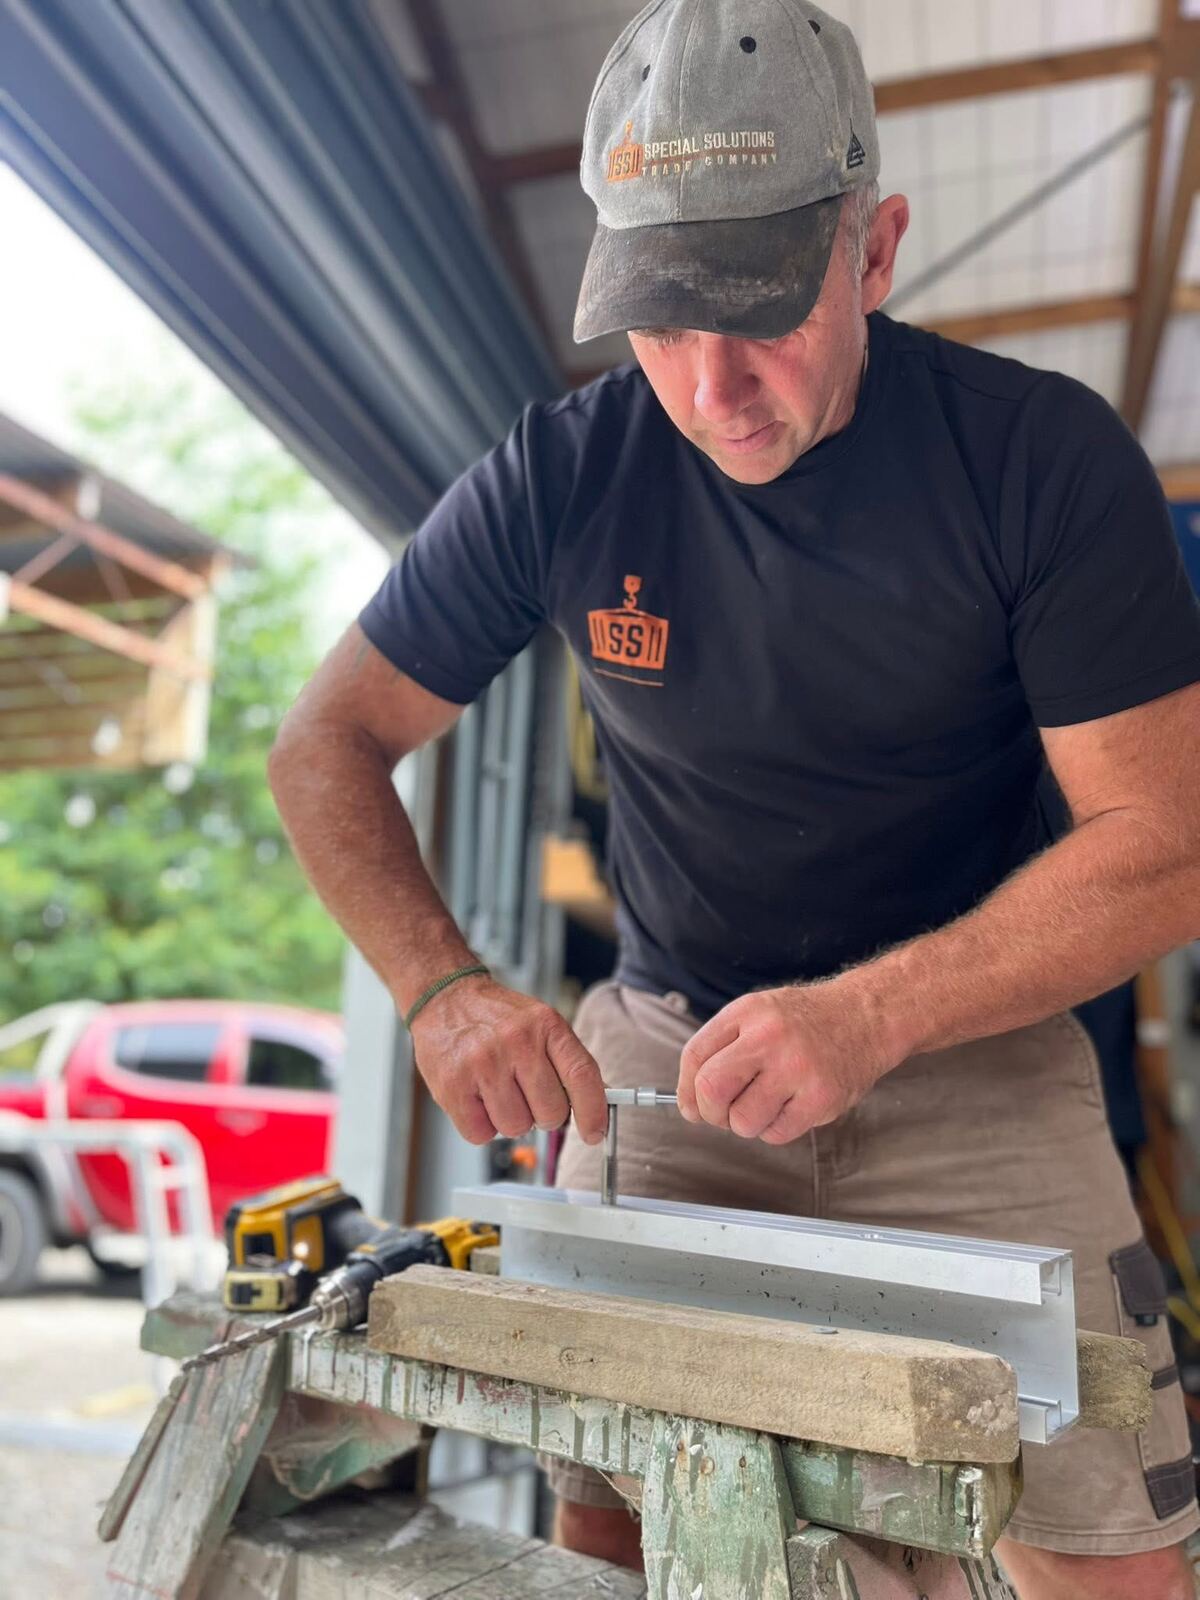
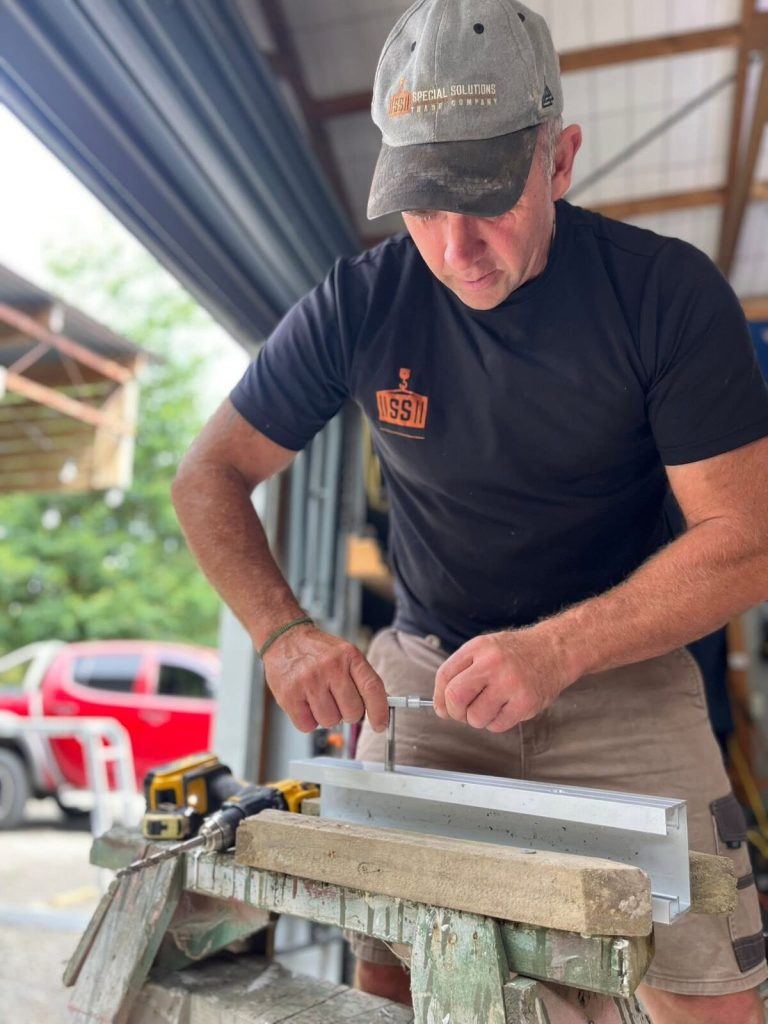
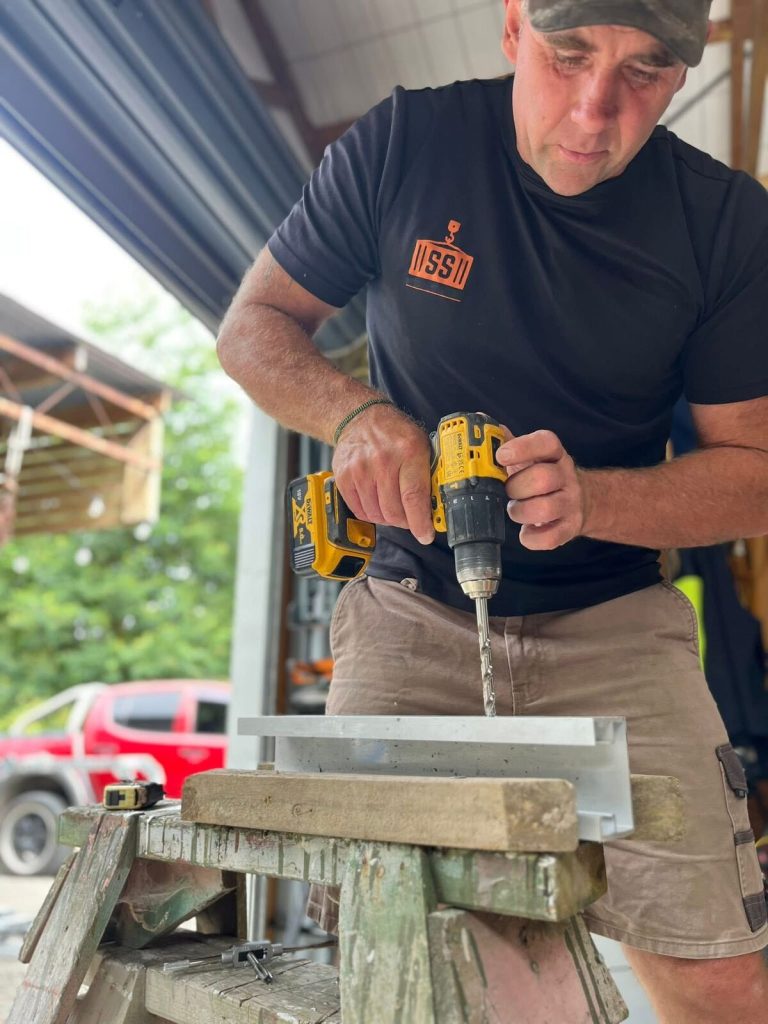
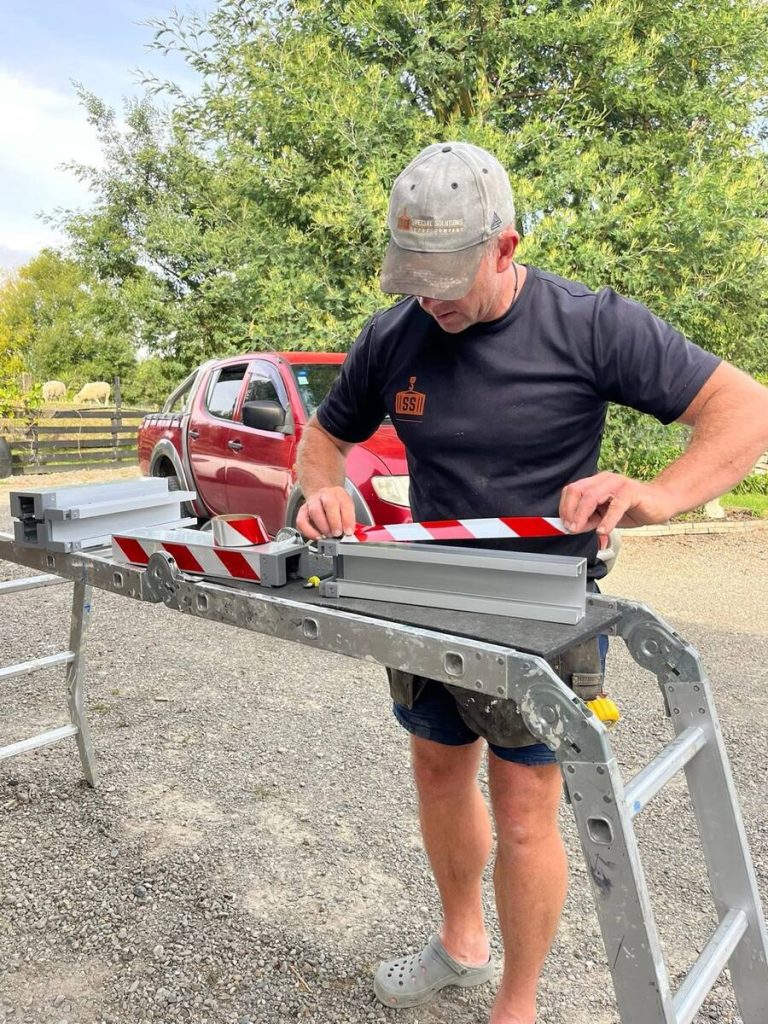
FloodShield systems are configured around the opening, proposed barrier height and mounting arrangement. These photographs show Allan preparing removable aluminium barrier components for a private South Island homeowner before supply. Measurements, post positions, fixings, seals and any visibility markings need to match the agreed layout.
This project involved preparation and supply only; the photographs do not show the final installation.
Talk through your site
Send us your opening dimensions, photographs, preferred barrier height and any known flood history. We can discuss the post arrangement, sealing surface and a suitable FloodShield configuration.